Image-Based Lighting (🟠WIP)
Resulting code: step115
Resulting code: step115-vanilla
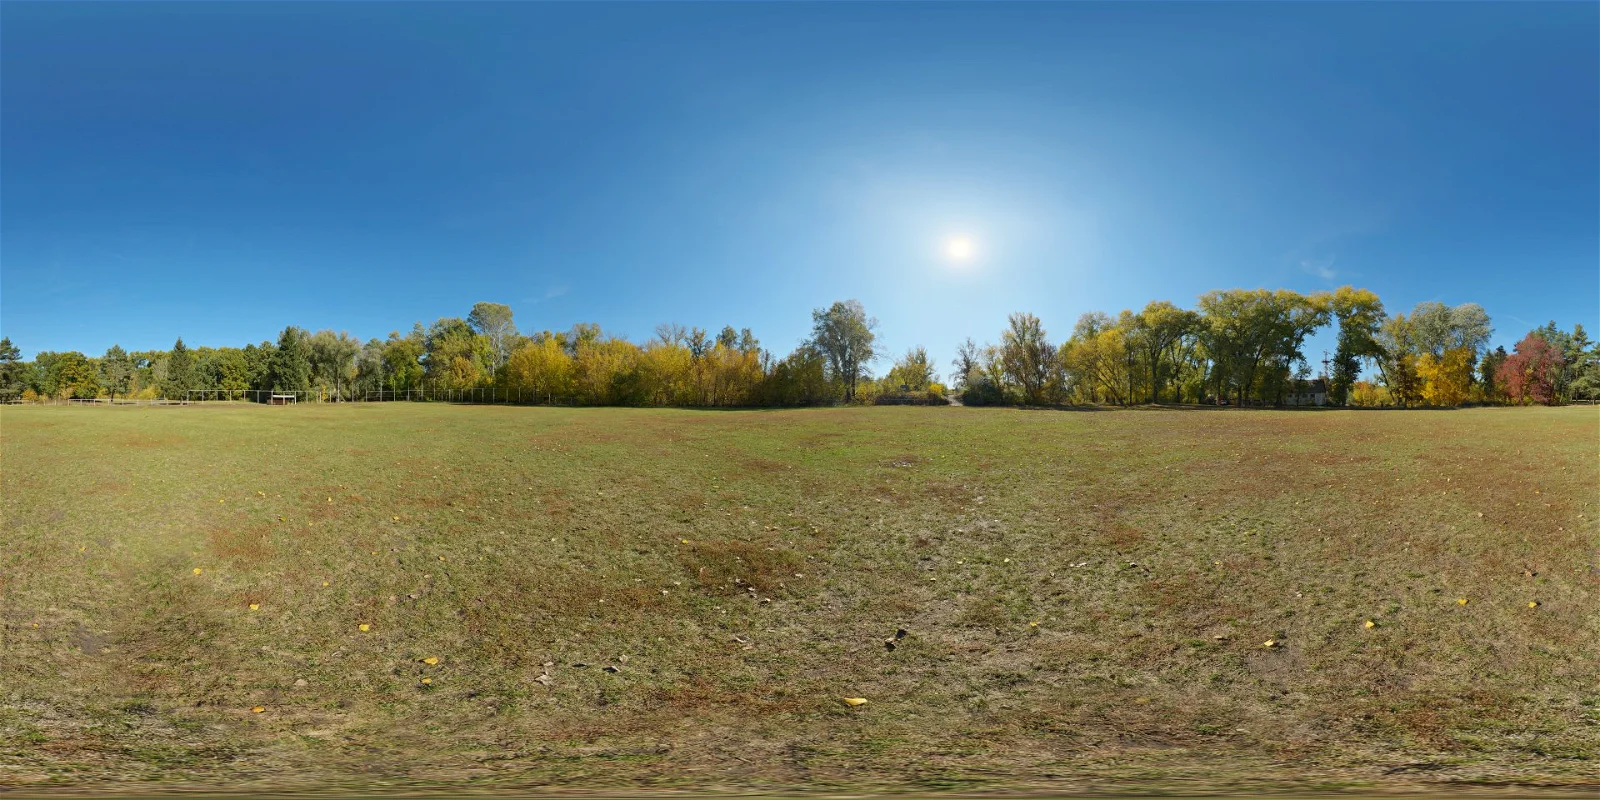
An environment map is a 360° image in high-dynamic range that we use as an omnidirectional light source.
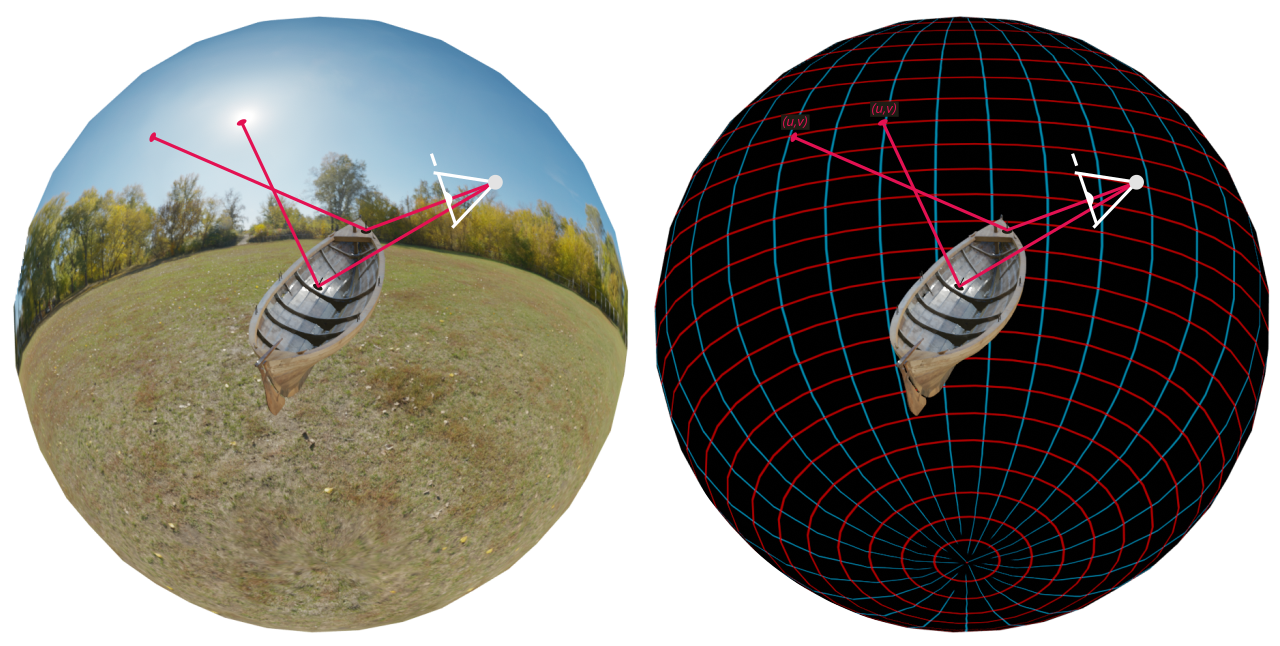
For each camera ray (i.e., each pixel) we compute the direction reflected by the surface’s normal to sample the part of the environment map that contributes the most to the lighting.
IBL Sampling
🚧 WIP
From this chapter on, the guide is not as up to date. I am currently refreshing it chapter by chapter and this is where I am currently working!
TODO
Add the environment map autumn_park_4k.jpg to the list of loaded textures:
// [...]
if (!initTexture(RESOURCE_DIR "/autumn_park_4k.jpg")) return false;
Note
You can find plenty more examples of environment maps on PolyHaven and ambientCG. These are CC0 licensed, allowing you to use them in any context!
We test on a simpler model than the boat: suzanne.obj.
Shader
@group(0) @binding(5) var<uniform> uLighting: LightingUniforms;
//                 ^ // This was a 6
// [...]
@group(0) @binding(4) var environmentTexture: texture_2d<f32>;

// [...]

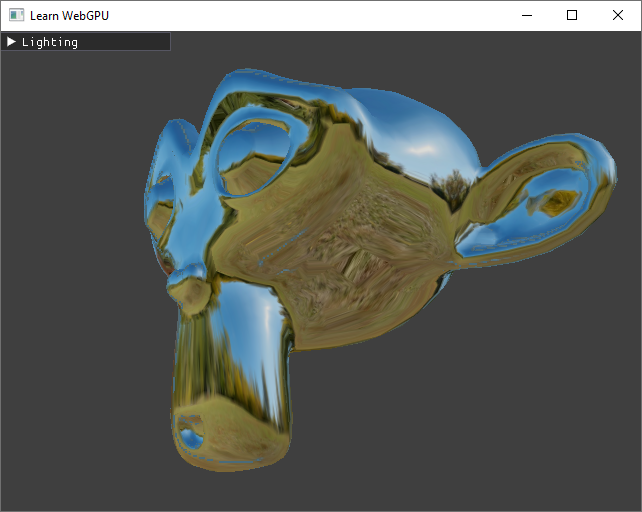
// Instead of looping over the light sources, we sample the environment map
// in the reflected direction to get the specular shading.
let ibl_direction = -reflect(V, N);
let Pi = 3.14159265359;

// Convert the direction to spherical coordinates
let theta = acos(ibl_direction.z / length(ibl_direction));
let phi = atan2(ibl_direction.y, ibl_direction.x);

// Map spherical coordinates to (0,1) ranges to fit the UV space
let ibl_uv = vec2<f32>(phi / (2.0 * Pi) + 0.5, theta / Pi);

// Sample the texture
let ibl_sample = textureSample(environmentTexture, textureSampler, ibl_uv).rgb;

var diffuse = vec3<f32>(0.0);
let specular = ibl_sample;

// (remove the for loop that was here)
TODO
IBL Prefiltering
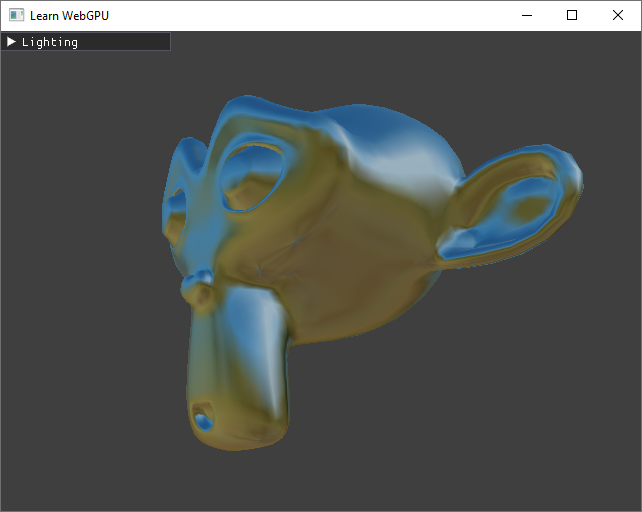
We can give more roughness to the object by sampling a different MIP level:
// Sample the texture
let ibl_sample = textureSampleLevel(environmentTexture, textureSampler, ibl_uv, 6.0).rgb;
TODO
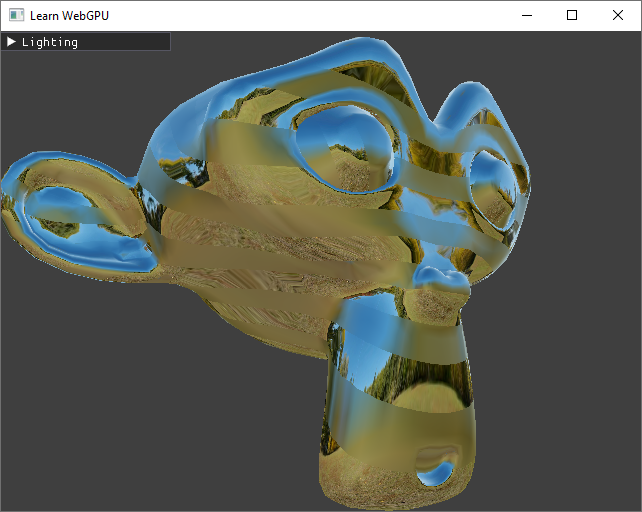
In fact, instead of letting the GPU guess which MIP level we want as done for a regular texture, we specify manually the level we want depending on the desired roughness of each surface element.
For instance we can create alternating rough and glossy stripes:
// Sample the texture
let level = mix(1.0, 6.0, step(fract(20.0 * in.uv.y), 0.5));
let ibl_sample = textureSampleLevel(environmentTexture, textureSampler, ibl_uv, level).rgb;
TODO
Conclusion
Our approach so far has 3 problems:
By manually setting the MIP level, we lose the “smart” choice that the GPU is doing based on screen-space gradients to avoid aliasing. To get both manual control and this behavior, we can use
textureSampleBias.The MIP levels are generated as if the texture represented a signal regularly sampled along a grid, but the environment map is sampled along directions, which induces distortion that the mip generation should take into account.
To be able to represent at the same time the sun and color details in indirectly lit areas, the environment texture usually uses high-dynamic range (HDR) image formats like .hdr or .exr.
We see in the next chapter a more efficient way to sample the environment with a special type of textures, namely cube maps. In the HDR Textures chapter we will see how to load HDR textures.
Resulting code: step115
Resulting code: step115-vanilla